You’ve invested in an air dome for your facility, but like any complex structure, problems will eventually surface. Whether it’s a sudden pressure drop during peak hours, a stubborn zipper door that won’t budge, or mysterious tears appearing in the fabric, these issues can shut down operations and cost you money. The good news? Most air dome problems have straightforward solutions if you know what to look for and how to respond quickly.
Common Fabric Tears: Causes and Quick Fixes
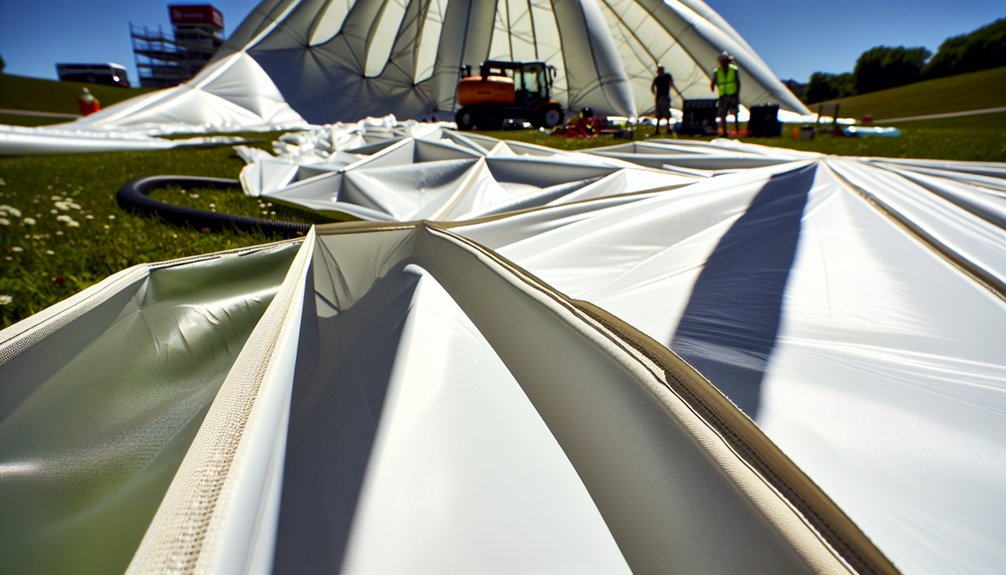
Although air domes are built to withstand various weather conditions, fabric tears remain one of the most frequent issues you’ll encounter with your 20,000 square foot facility. These common dome issues typically result from sharp objects, excessive wind stress, or UV degradation over time.
When you notice small punctures or tears, don’t panic. Most tennis bubble repairs can be handled quickly with basic repair kits costing between $35-$100. You’ll find these kits contain fabric patches, adhesive, and detailed instructions for temporary fixes.
For immediate solutions, clean the damaged area thoroughly, apply the patch following manufacturer guidelines, and guarantee proper adhesion.
However, larger tears require professional assessment. Regular inspections help you catch air dome problems early, preventing minor damage from becoming costly structural issues.
Blower Motor Failures: Symptoms and Solutions
While fabric tears affect your air dome’s exterior, blower motor failures strike at the heart of your facility’s operation. When your blower system malfunctions, you’ll notice immediate pressure drops and potential structural collapse risks.
Key symptoms include unusual grinding noises, excessive vibration, and inconsistent airflow. Bearing failures account for most issues, typically costing $500-$1,500 to repair. You’ll want to monitor motor temperature and listen for irregular sounds during routine inspections.
For effective sports dome troubleshooting, check electrical connections first, then examine belt tension and alignment. Replace worn bearings immediately to prevent complete motor failure.
Your air dome problem solving strategy should include backup blower systems for critical situations. Regular maintenance prevents most failures, but when problems arise, quick response protects your entire facility investment.
When Zipper Doors Jam or Stick
As blower motors keep your dome pressurized, zipper door mechanisms provide essential access control that can quickly become problematic.
When your zipper doors jam or stick, you’re facing one of the most common maintenance issues in air dome facilities.
Most zipper problems stem from dirt accumulation, fabric misalignment, or worn zipper teeth.
Here’s your troubleshooting approach:
- Clean the zipper track thoroughly with a stiff brush to remove debris, ice, or fabric particles.
- Apply silicone-based lubricant to zipper teeth and slider mechanisms monthly.
- Check fabric tension around the door frame for proper alignment.
- Inspect zipper slider for damage or wear that prevents smooth operation.
Regular maintenance prevents most jamming issues.
You’ll save time and avoid emergency repairs by implementing a monthly zipper inspection routine.
Pressure Loss: Finding and Sealing Leaks
Beyond door mechanisms, your air dome’s structural integrity depends on maintaining proper internal pressure between 2-5 PSF (0.1-0.24 kPa).
When you notice sagging or deflation, pressure loss is likely occurring through base seal leaks, fabric punctures, or connection points.
Start your inspection at ground level where the dome meets its foundation. Check the entire perimeter for gaps, loose anchor points, or damaged sealing material.
Listen for air escaping—it’ll create a distinct hissing sound. Use soapy water to identify small leaks; bubbles will form where air escapes.
Examine fabric panels for tears, worn areas, or punctures from debris. Pay attention to seams and reinforced sections where stress concentrates.
Check blower connections, electrical penetrations, and emergency exits. Temporary patches work for small holes, but schedule permanent repairs quickly to prevent larger problems.
Snow Load Removal and Weight Limits
When snow accumulates beyond 12 inches (30 cm) on your air dome, you’re approaching dangerous weight limits that can compromise structural integrity.
Snow’s weight varies dramatically based on moisture content, with wet snow weighing up to three times more than dry powder. You’ll need immediate action to prevent costly damage or collapse.
Snow Load Management Protocol:
- Monitor accumulation – Check snow depth every 4-6 hours during storms using marked reference points around your dome’s perimeter.
- Increase internal pressure – Boost air pressure by 0.5-1.0 PSF to help shed light snow naturally before it becomes problematic.
- Deploy removal equipment – Use foam brushes or specialized dome rakes to gently remove snow, working from bottom to top in sections.
- Document conditions – Record snow type, depth, and weather forecasts to anticipate future loading events.
Repair Costs and Essential Emergency Tools
You’ll need specific tools and spare parts on hand to address air dome emergencies quickly before they escalate into costly structural damage.
Your emergency repair kit should include fabric patches, sealants, and basic tools, while understanding professional service costs helps you budget for major repairs like blower replacements.
Preparing for both minor fixes you can handle yourself and larger issues requiring expert intervention guarantees you’re ready for any air dome problem.
Emergency Repair Kit Essentials
Three critical repair scenarios can threaten your air dome’s structural integrity without warning.
You’ll need an extensive emergency repair kit to address fabric tears, pressure loss, and mechanical failures that could compromise your 20,000 sq ft facility’s operation.
Your emergency repair kit must include these essential components:
- Fabric repair patches and adhesive – Waterproof patches in multiple sizes with industrial-grade adhesive for immediate tear repairs ($35-$100 investment)
- Pressure monitoring tools – Digital manometer to detect the 2-5 PSF pressure drops that signal base leaks or blower issues
- Basic blower maintenance supplies – Replacement bearings, belts, and lubricants for $500-$1,500 blower repairs
- Door hardware kit – Zipper lubricant, replacement pulls, and cleaning supplies to prevent costly lockouts
Keep these supplies readily accessible for immediate deployment.
Professional Service Cost Breakdown
Professional air dome repair services typically charge $150-$300 per hour, making DIY maintenance knowledge essential for managing your facility’s operating costs.
For a 20,000 sq ft facility, you’ll face predictable repair scenarios. Fabric tear repairs cost $35-$100 for materials when you handle them yourself, but professional patching runs $400-$800 including labor.
Blower bearing replacements range from $500-$1,500 in parts, yet service calls add $300-$600 in labor charges.
Zipper door maintenance requires only cleaning and lubrication—a $5 fix versus $200-$400 for professional service.
Pressure loss diagnostics cost $150-$300 professionally, though you can check base seals yourself.
Snow removal services charge $50-$150 per visit, making preventive monitoring vital for your budget.
Preventing Major Air Dome Breakdowns
While air dome issues can range from minor inconveniences to costly repairs, implementing a proactive maintenance strategy will help you avoid the most expensive breakdowns.
Regular inspections catch problems before they escalate. You’ll save thousands by addressing fabric tears with $35-$100 repair kits rather than replacing entire sections. Similarly, monitoring blower performance prevents bearing failures that cost $500-$1,500.
Here’s your essential prevention checklist:
- Monthly fabric inspections – Look for small tears, worn areas, and stress points around anchor systems.
- Quarterly blower maintenance – Check bearings, belts, and filters to prevent costly failures.
- Seasonal pressure monitoring – Test for base leaks when pressure drops below 2-5 PSF.
- Weather preparation – Remove snow accumulation exceeding 12 inches to prevent structural damage.
Consistent maintenance protects your investment long-term.